Extract information from a document in Power Automate
Introduction
Note
This tutorial depends on a preconfigured custom connector. See Power Automate Custom Connector for how that is created.
Click the menu option My Flows on the left menu
Click New Flow and select Instant cloud flow
Enter the Flow Name and for the test select Manually trigger a flow
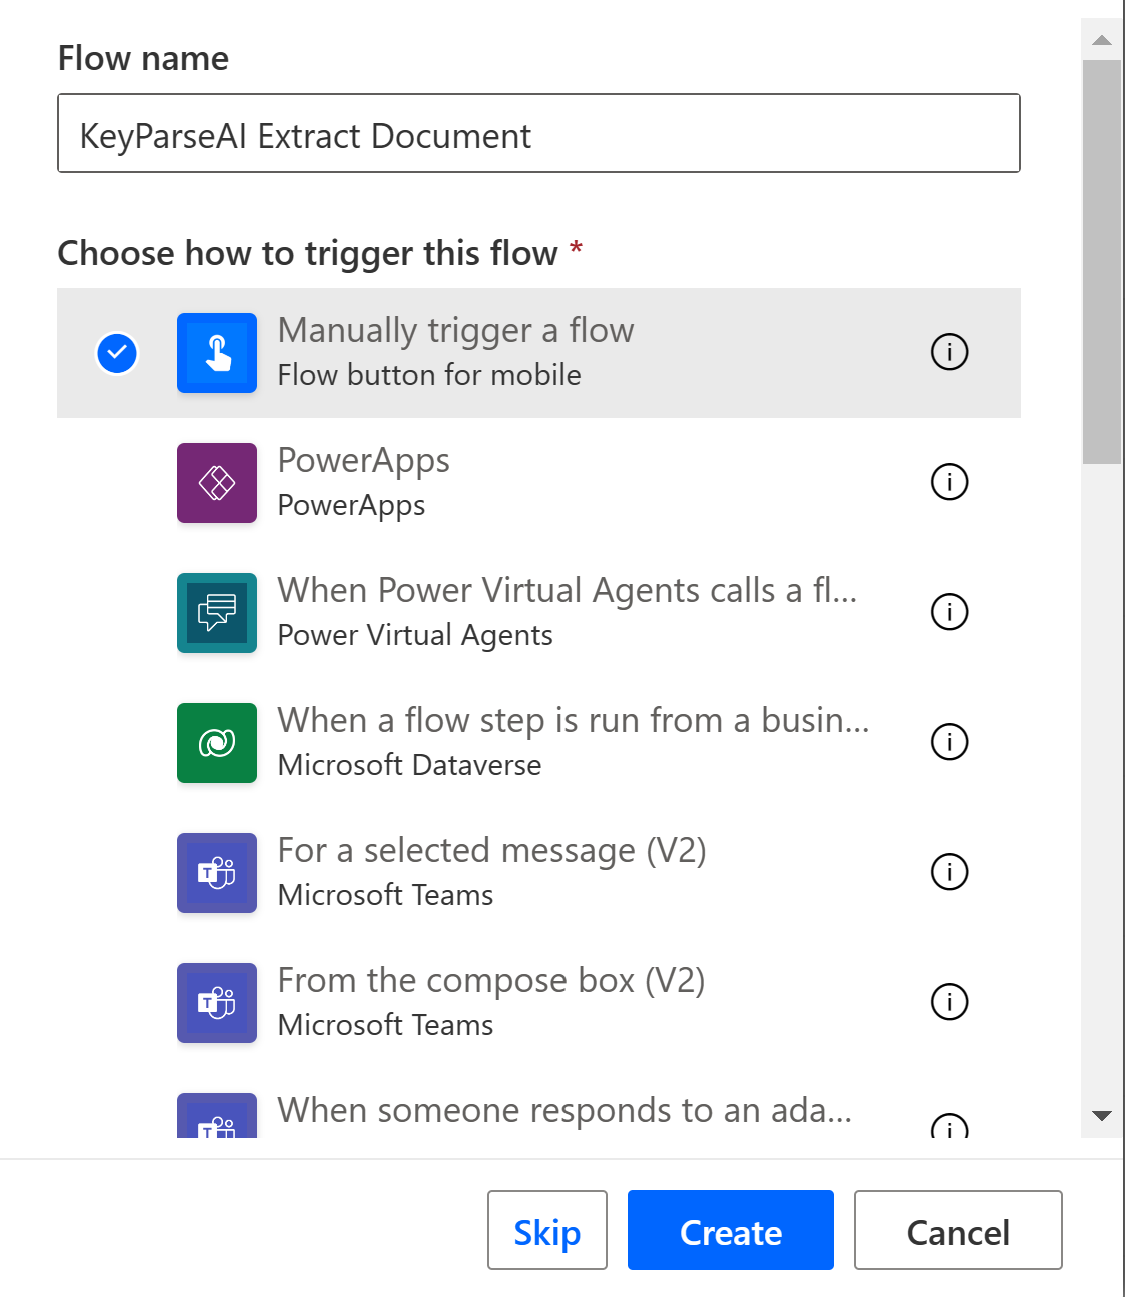
Click Create
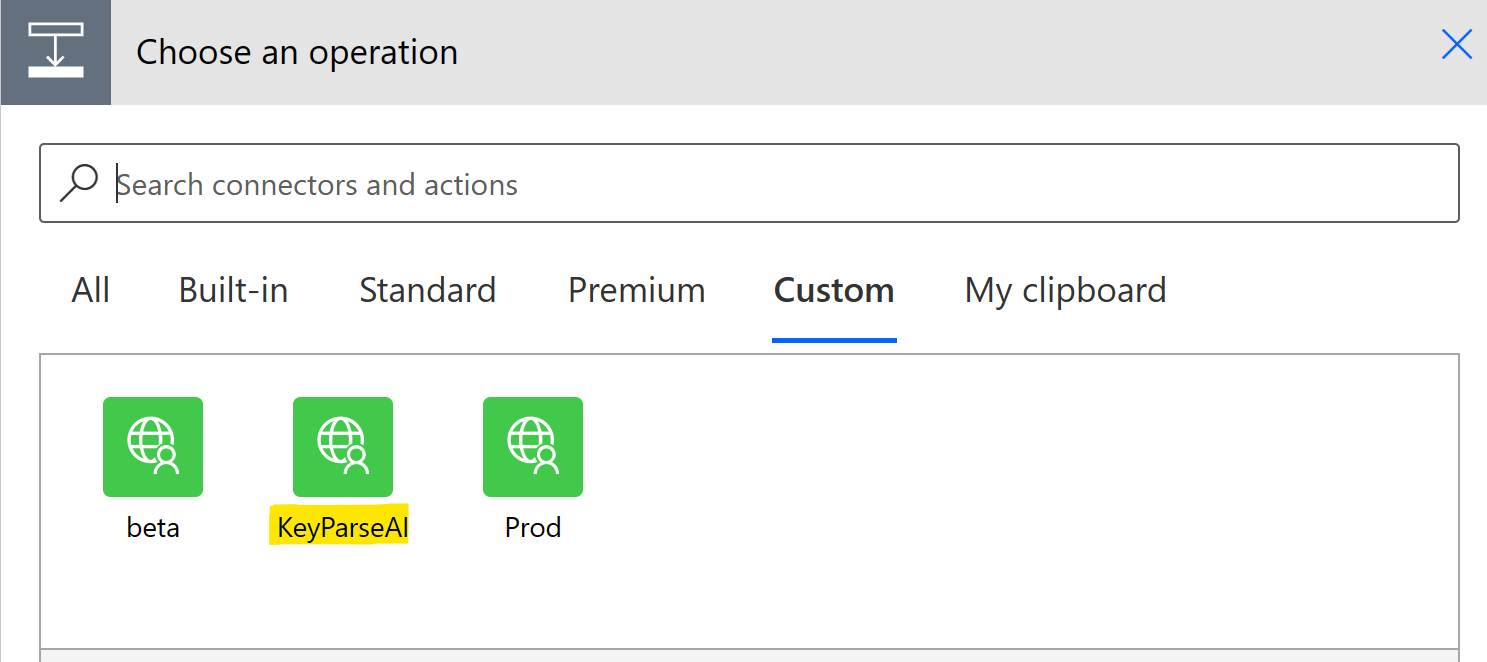
When the Flow editor opens click Add Step and click the Custom tab
Available Actions
This should show all your custom connectors. Click the KeyParseAI connector.
This will list all the available actions.
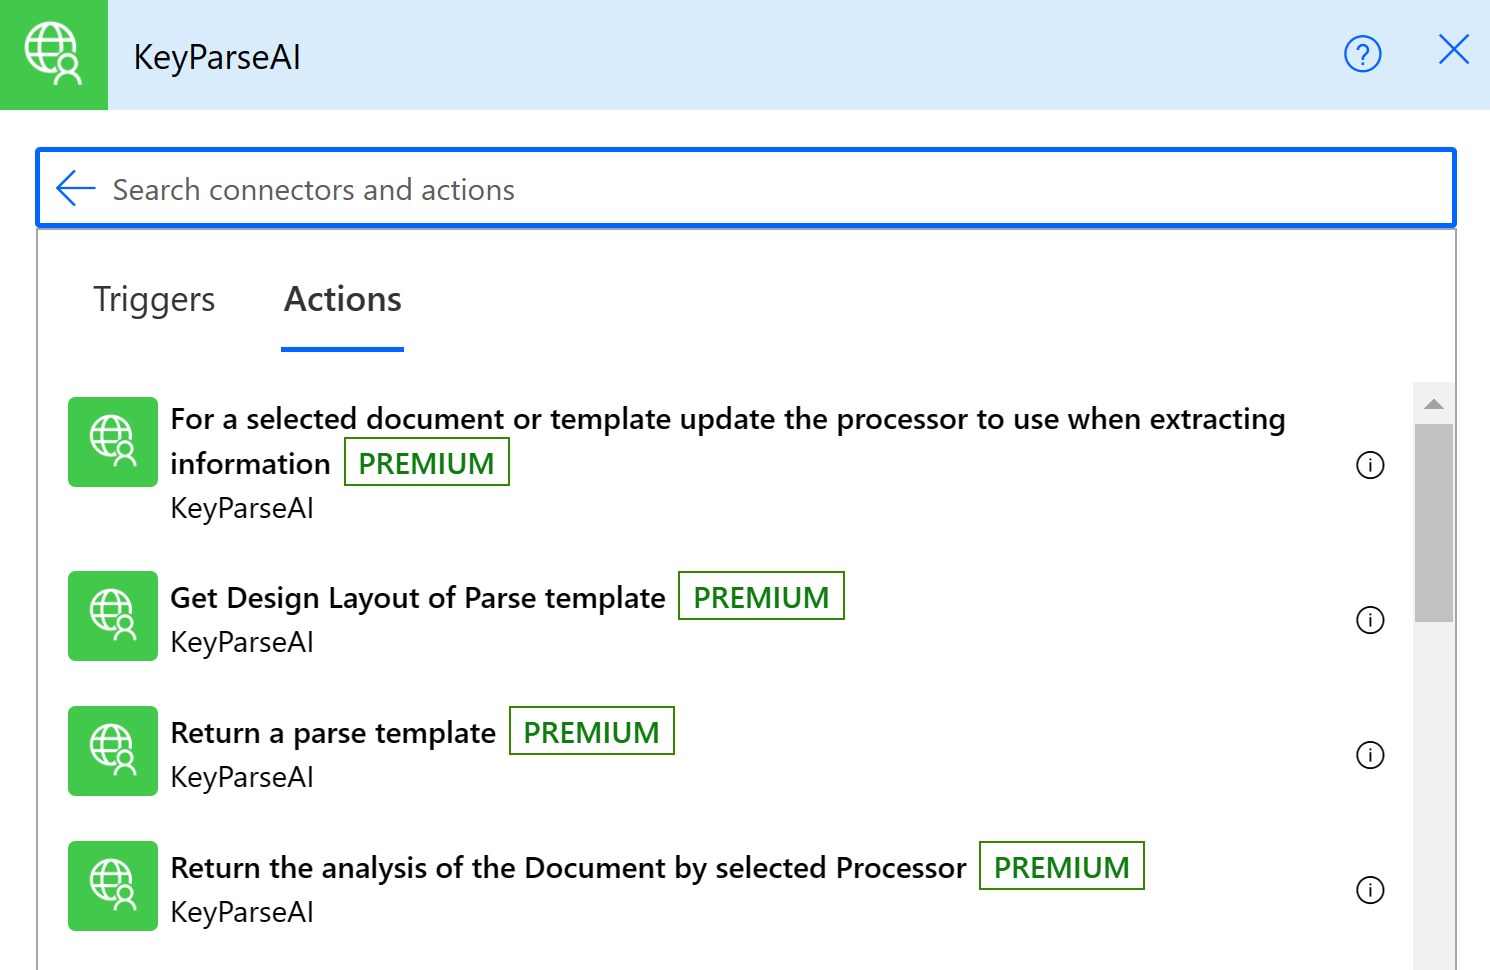
For our test enter the search term 'spaces', this will filter down to the action that lists the default spaces and libraries.
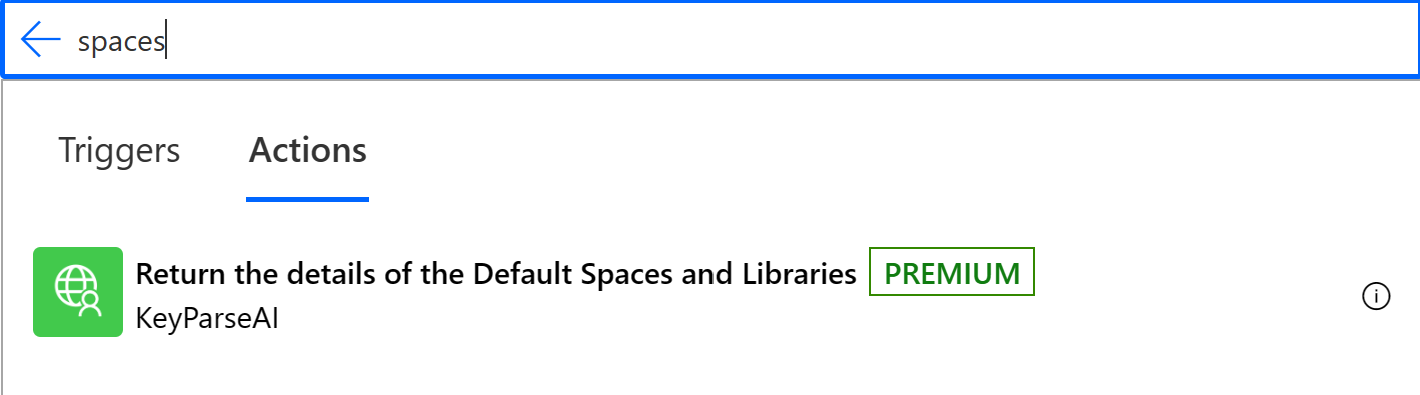
Click the action listed: Return the details of the Default Spaces and Libraries
It will be added to the Flow
The first time an action from the connector is added to the Flow canvas it will prompt for the name and authentication information.
Connector Credentials
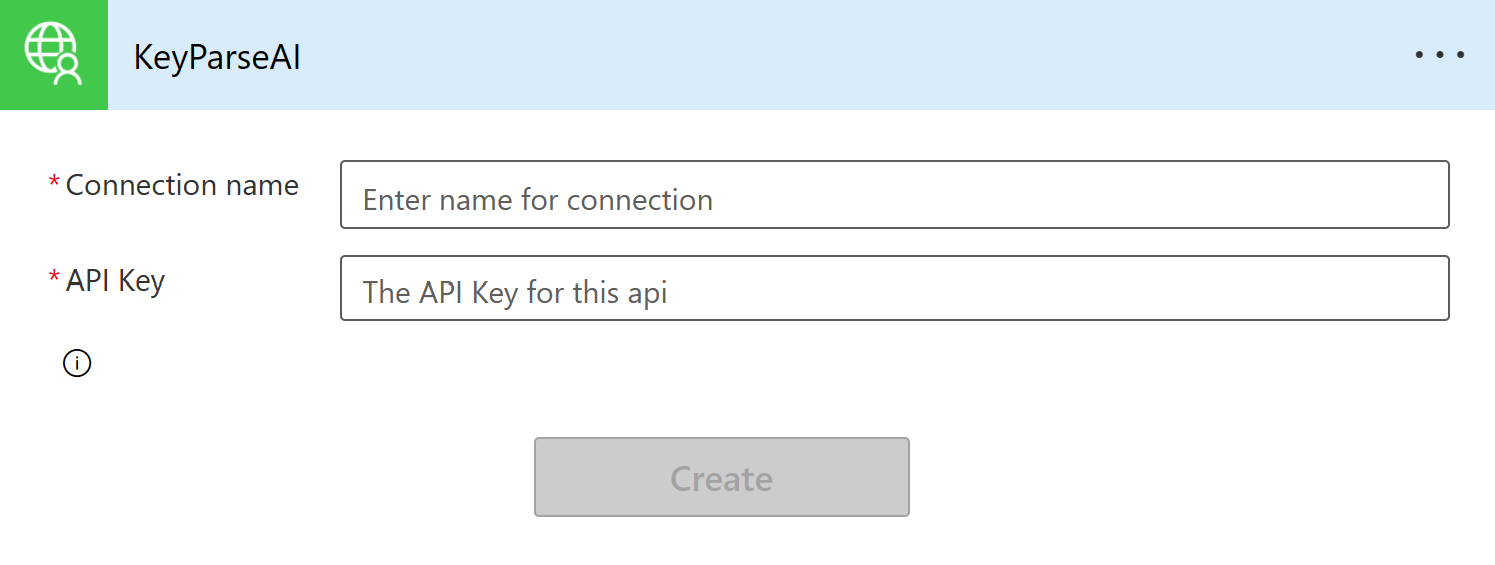
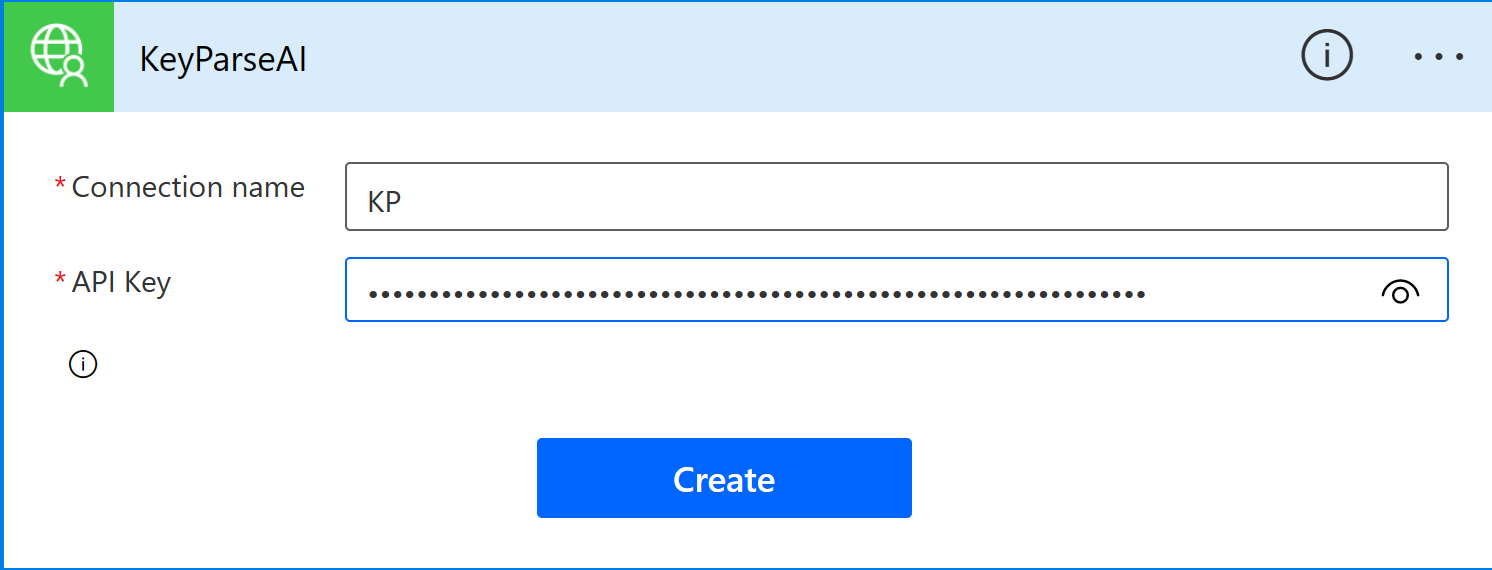
Enter the Connector name and an API key generated from within the KeyParse AI application. see APIKeys
Click Create
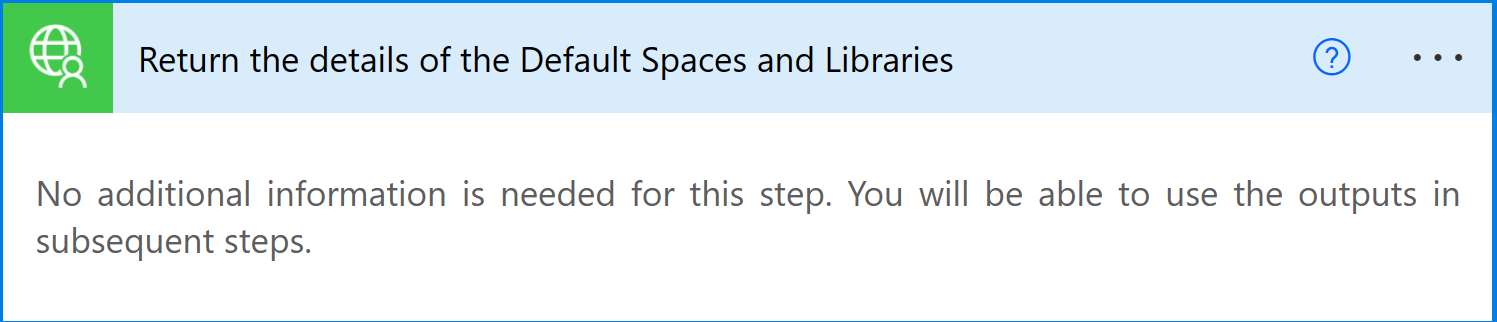
Once created the action has no UI but will return data into the Flow in JSON format that can be used in subsequent steps
Return all files Action
For this test we we add a second action that will return the list of files
Click New Step on the Flow Canvas, click Custom and then the connector you had created.
Enter space as the filter and click the action method Return all files from the default User library in the given Space

Once the action has been added click into the Space Id field and the UI will display all the data available from the previous step
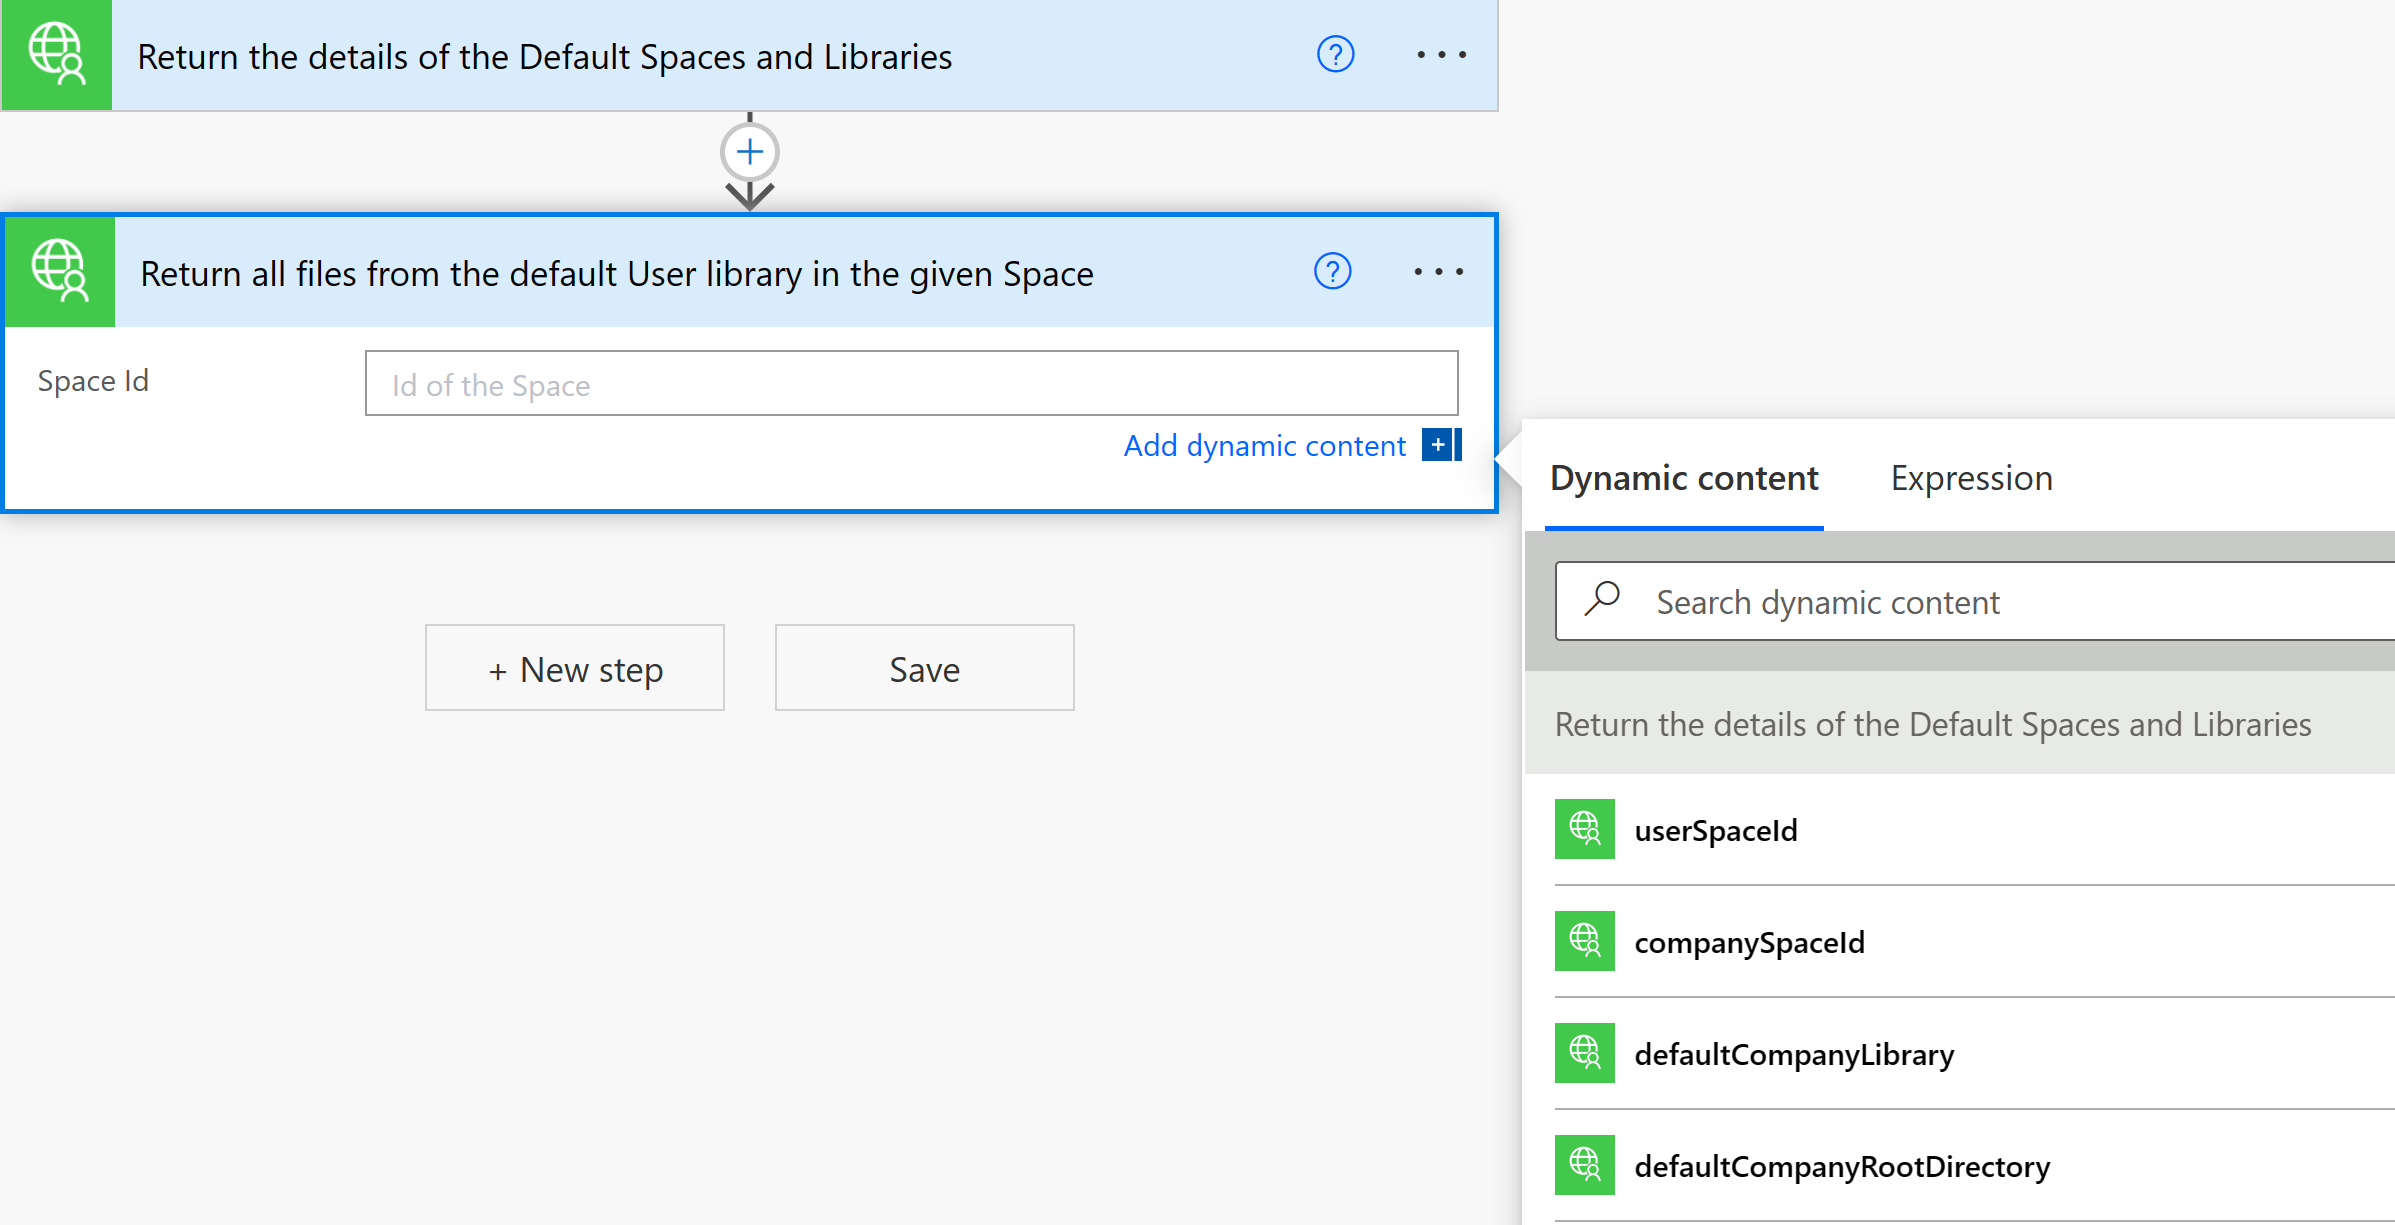
Select userSpaceId and click Save to save the Flow.
The flow can be tested at this point to make sure at least one file is returned.
On the top right click Test and select Manually as the test method
The click Test
The UI should show that the connector has credentials entered and is ready for use by displaying a Green checkbox.
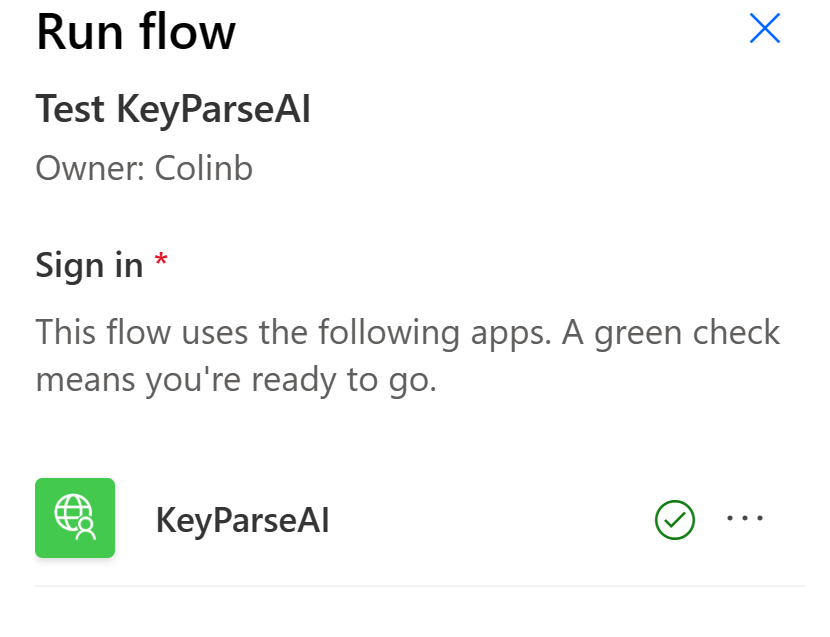
Test Flow CheckPoint
Click Continue and then Run Flow
The flow should be running so click Done
This will open up the Flow Results page.
Click the Return all Files action and you should see the results of the data returned in the text box.
In our case we have uploaded a single test file 'invoice-sample.pdf'
We will go back to the flow Choose Edit in the top right corner.
GetFiles
Rename the Step 'Return all files from the default User library in the given Space' to GetFiles by clicking the ... and chosing rename, enter GetFiles and hit return. This will make it easier to refer to the data in this step

In this case we want to get the recordId of the single file in the result list.
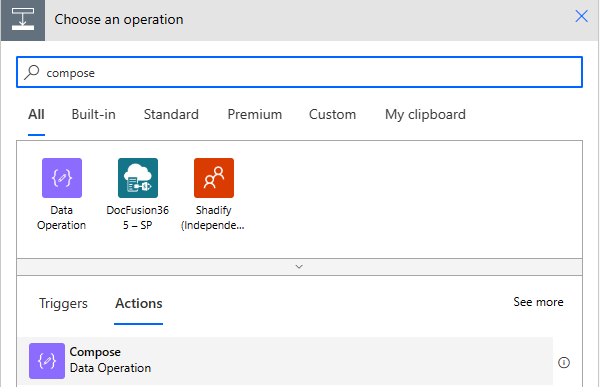
Click Add Step and enter compose as the search term. Click the Compose Data Operation.
Get the RecordId
Click into the Inputs text box and click Expression in the formula dialog that appears.
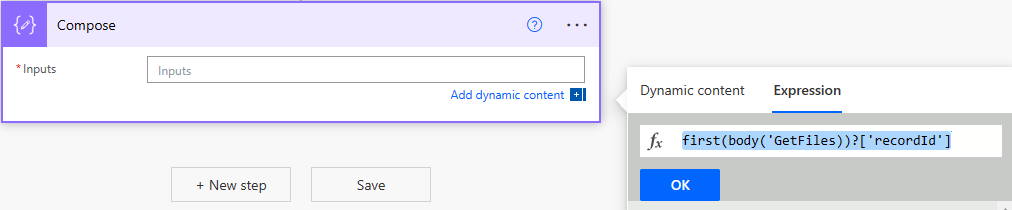
Enter the expression:
This will get the first record of the GetFiles operation and select the recordId field. This is the Id we need to pass to the Parse Document Action.
Rename the Compose Action to GetRecordId
Parsing using a Template Action
Click New Step Click the Custom Tab Enter the search term parser and select the action Parse one or more files with the specified Parse Template.
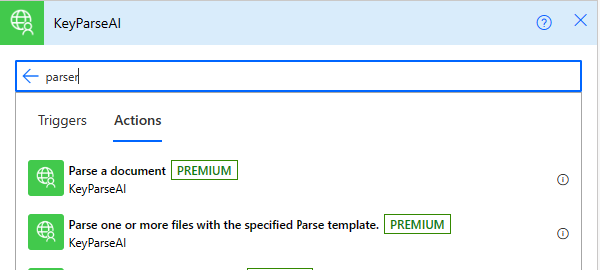
Rename the Action to ParseFile
-
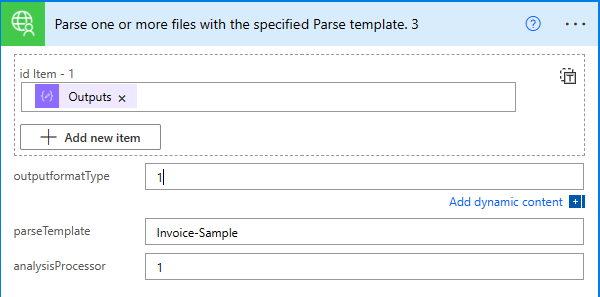
For the Id field click into it and select Outputs from the GetRecordId action
-
Enter 1 for outputformatType
-
Enter the name of the parse template, in this case Invoice-Sample
-
Enter 1 for analysisProcessor
Parsing the JSON result
We will now add an action that will parse the JSON returned form this call. This allows easy use of the data to be used in other actions as the field names can be used directly to access the data.
Add the Compose - Data Operation as before
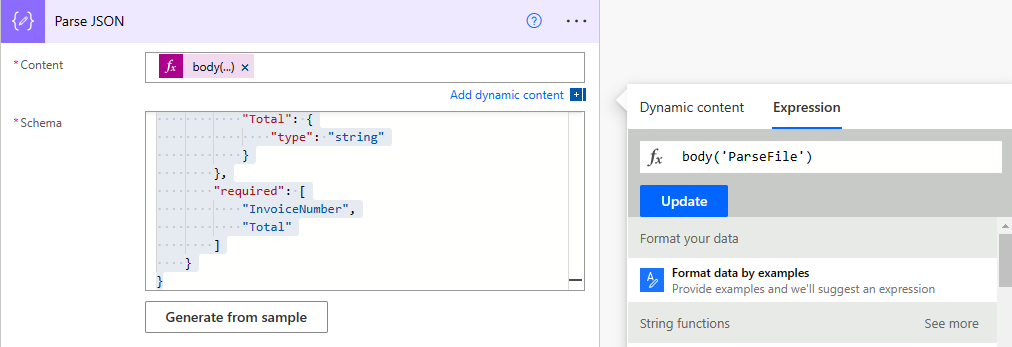
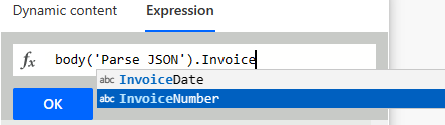
For the Content field enter the formula
The Parse Json Action requires a schema (or structure) to be entered for returned data. This is document dependant. An easy way to get the schema is do an Extract via the App UI and then use the Generate From Sample option in the Parse Json action to have a schema generated automatically.
In this case we have a small set of fields and can enter a manual schema. The match the sample-invoice enter the following into the Schema field.
{
    "type": "array",
    "items": {
        "type": "object",
        "properties": {
            "InvoiceNumber": {
                "type": "string"
            },
            "Total": {
                "type": "string"
            }
        },
        "required": [
            "InvoiceNumber",
            "Total"
        ]
    }
}
Checking the returned data
You can see how the fields are return by adding a new Compose - Data Operation and clicking into the Inputs field.
Notice the InvoiceNumber and Total fields are listed in the available fields. These fields can be used in further Actions that send data onto other systems such as Finance and CRM systems.
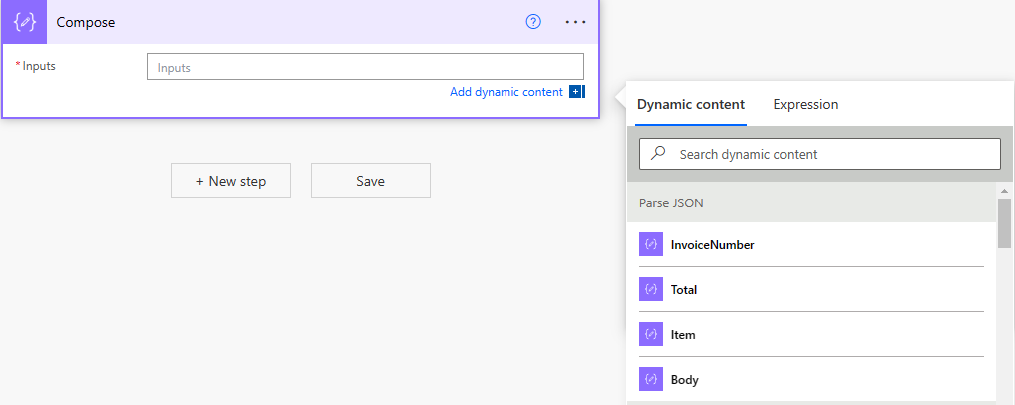
Notice that fields are available using the Body function and passing in the name of the Parse Json action. We recommend that action is renamed to make it easier to reference.
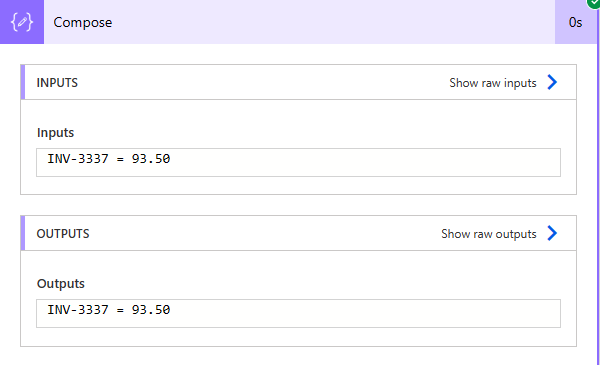
Example: Combining result fields
As an example using the Compose Action and this formula a value is created by combining the two fields. Other actions such as splitting and parsing strings can be used to format the data as required by the other systems.
The method first() is used as the ParseJSON call returns an array so in this case we only want the first record.