Configure Power Automate Connector
Introduction
We provide a full REST API that can be used with any tool including the Power Platform (see API) however it is far easier to use the Connector we provide that is designed for the platform and can be used on Logic Apps as well as Power Automate Flows.
As an example we will add a custom connector to our API and test it by adding two actions. We can get a list of the main libraries and spaces and then a list of files in the current user default space.
Configuration
Currently you have to upload the OpenAPI (Swagger) file we provide and create a custom connector. See Download Connector.
Upload steps
Menu
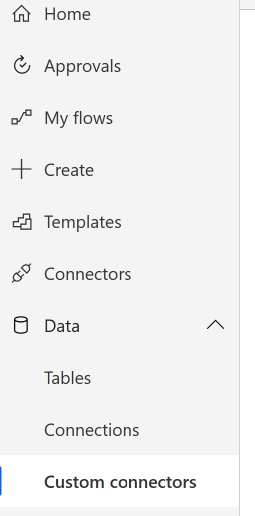
- In the Power Automate Environment goto the left menu and choose Data -> Custom connectors
Import File
- In the menu on the top right click New custom connector
- From the menu chose Import an OpenAPI file
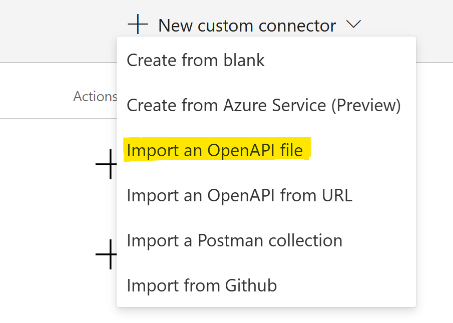
- Fill in the connector name you'd lke and use the file picker to select the swaggerForPowerPlatform.json file

Configure Connector
When the file is imported the Connector editor will open up.
In the first tab General you can update the icon and add a description
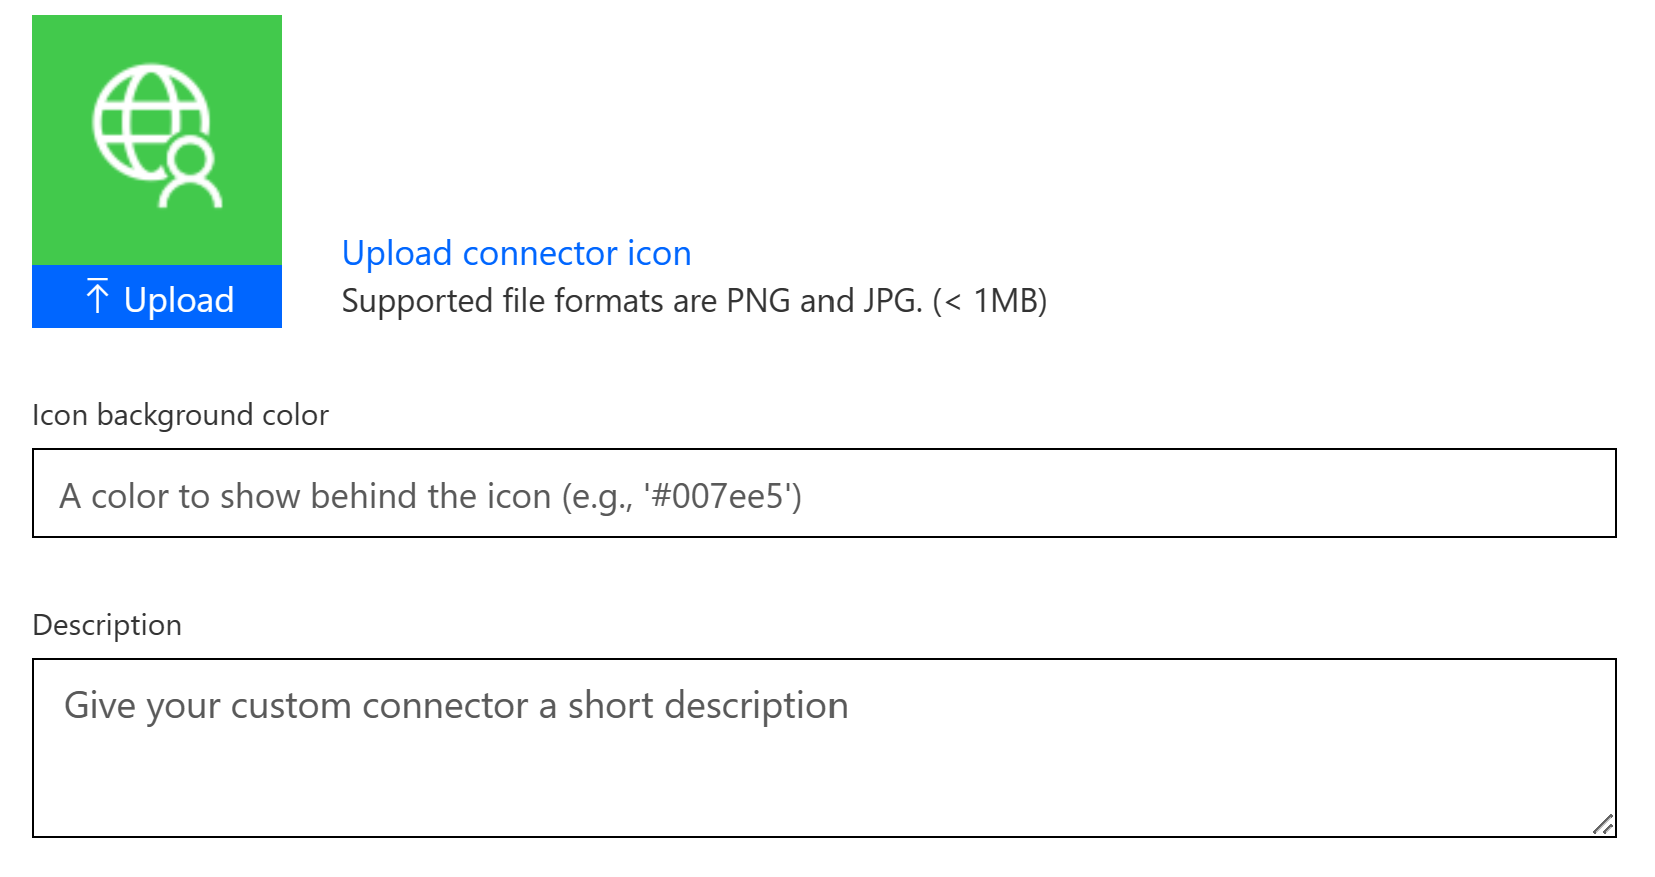
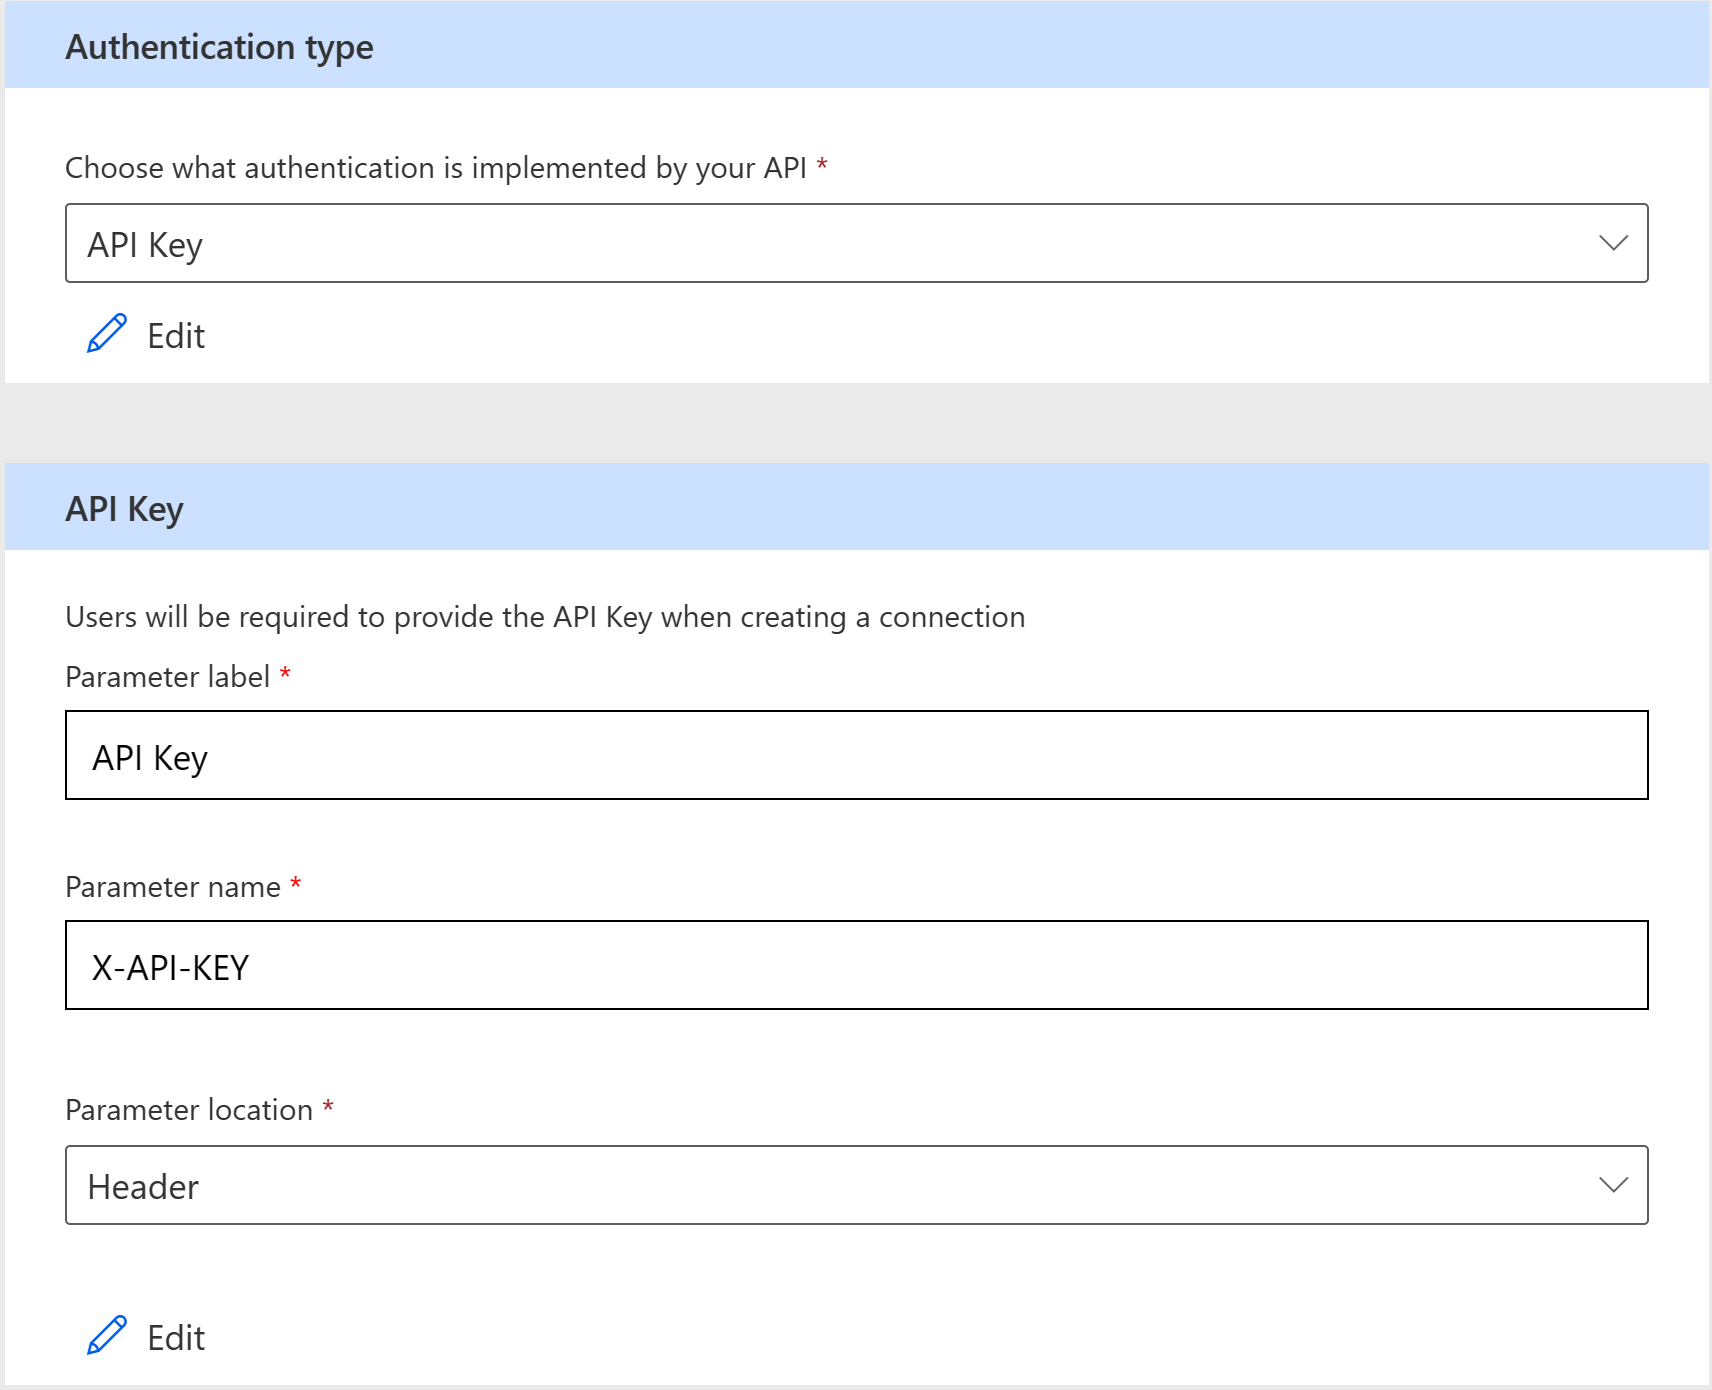
We will leave the defaults and click Security.
As we use an API key to authenticate the security options are already filled out here
- You can Click Definition which will show all the Connection Actions and each action's properties. We don't need to change anything here so we can just create the Connector by clicking Create Connector.
After a few seconds the platform should create the connector and you can click Close to close the dialog
Test Connector
Now we can test the connector to ensure it works
Click the menu option My Flows on the left menu
Click New Flow and select Instant cloud flow
Enter the Flow Name and for the test select Manually trigger a flow
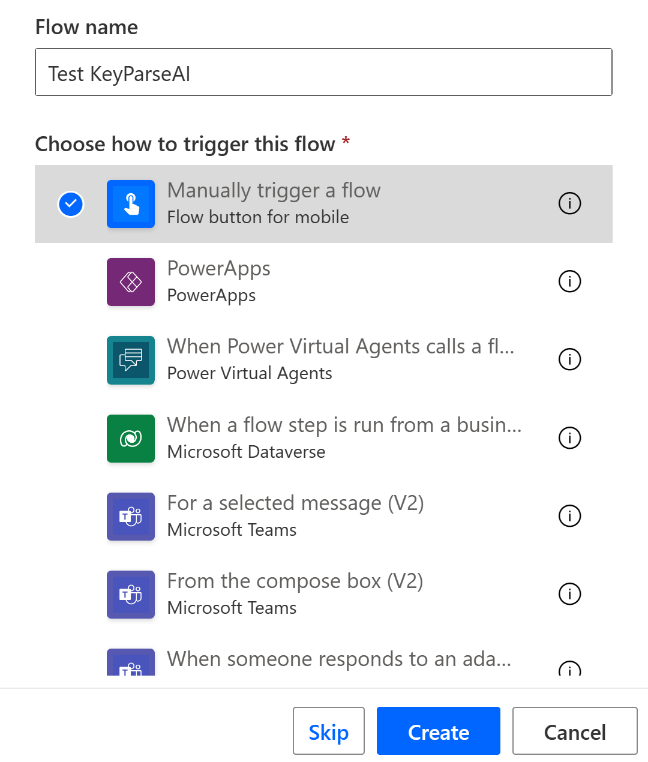
Click Create
When the Flow editor opens click Add Step and click the Custom tab
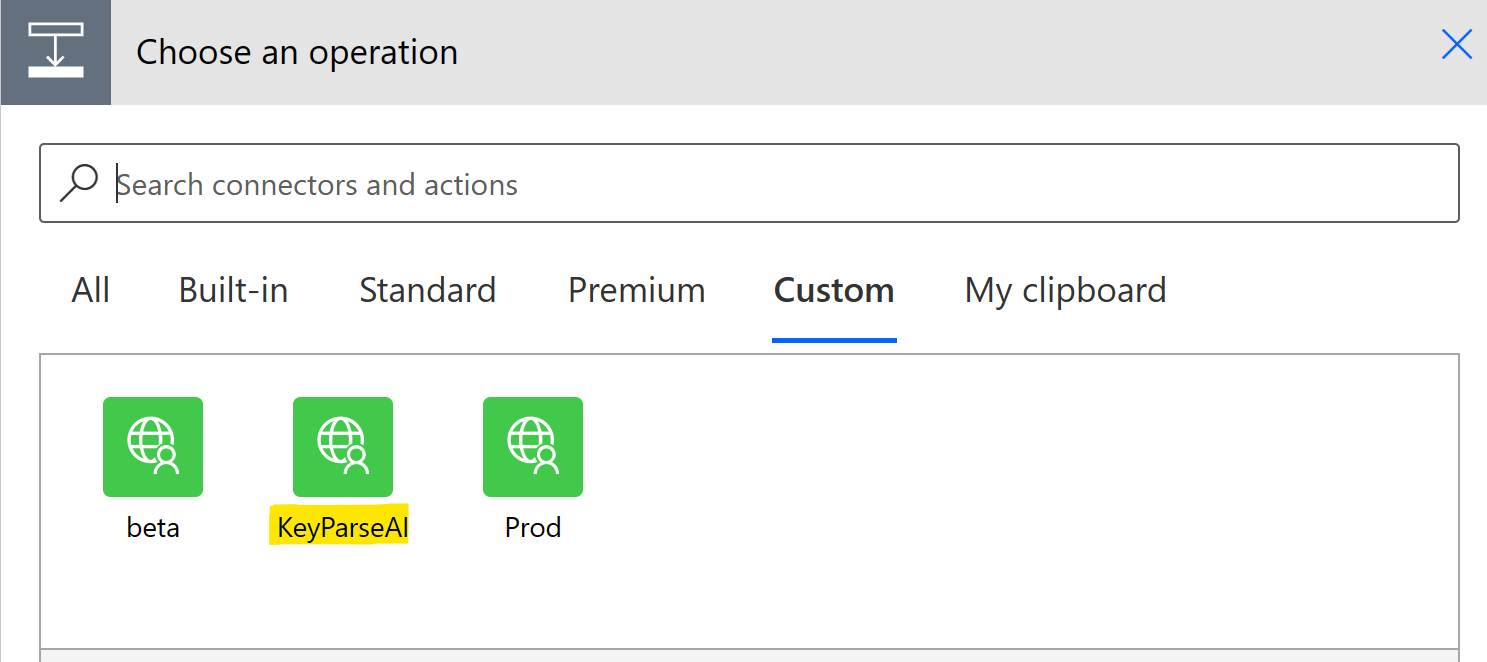
Available Actions
This should show all your custom connectors. Click the connector you have just added.
This will list all the available actions.
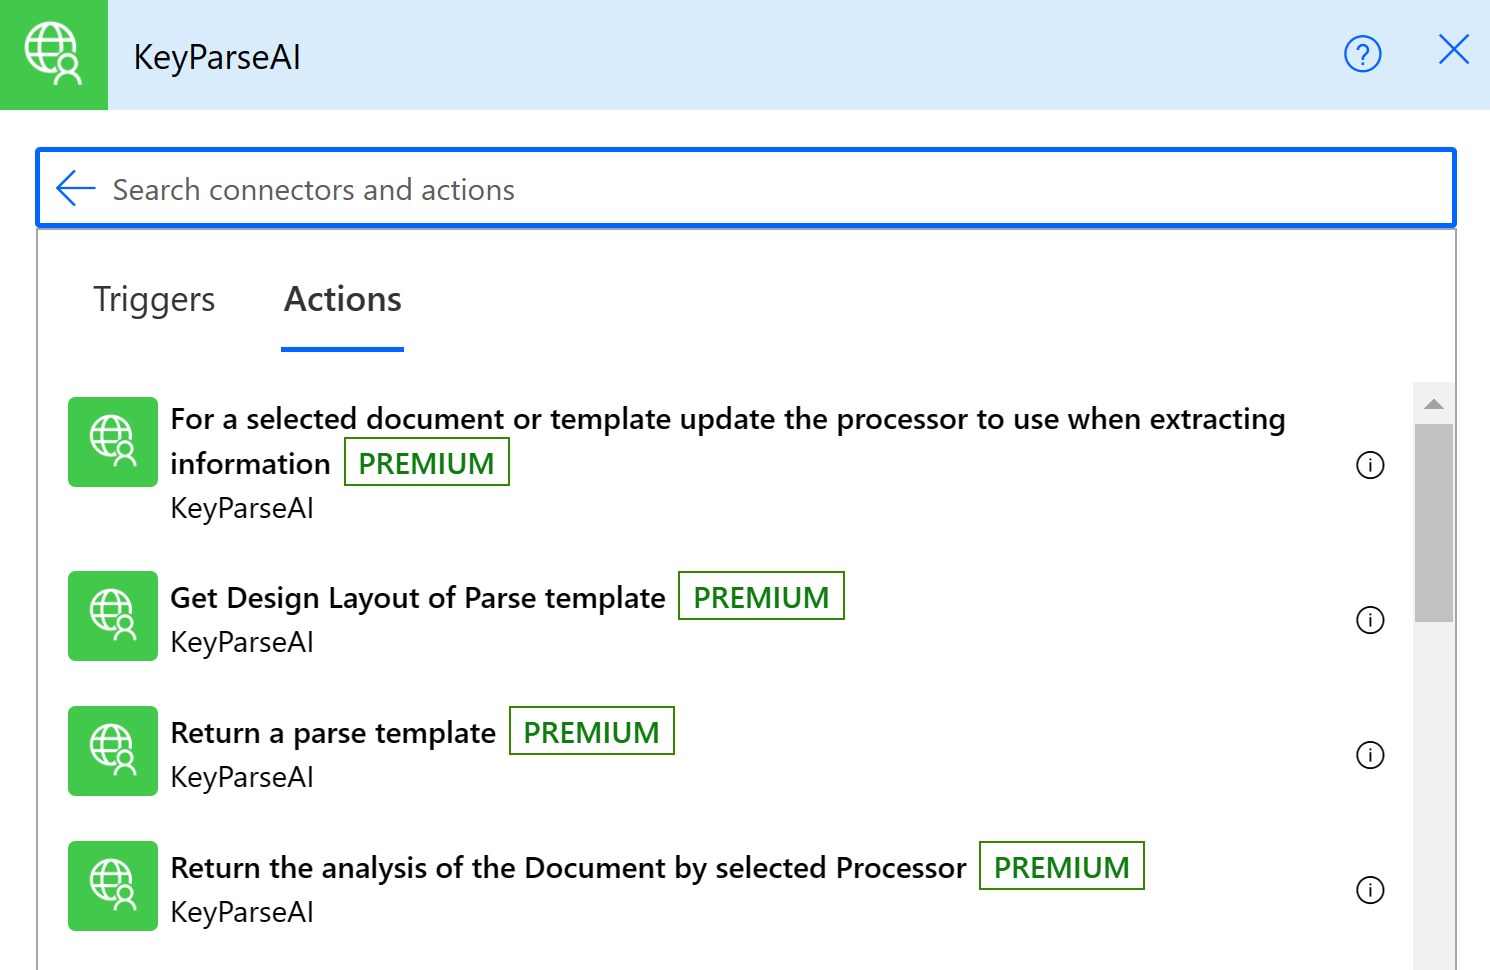
For our test enter the search term 'spaces', this will filter down to the action that lists the default spaces and libraries.
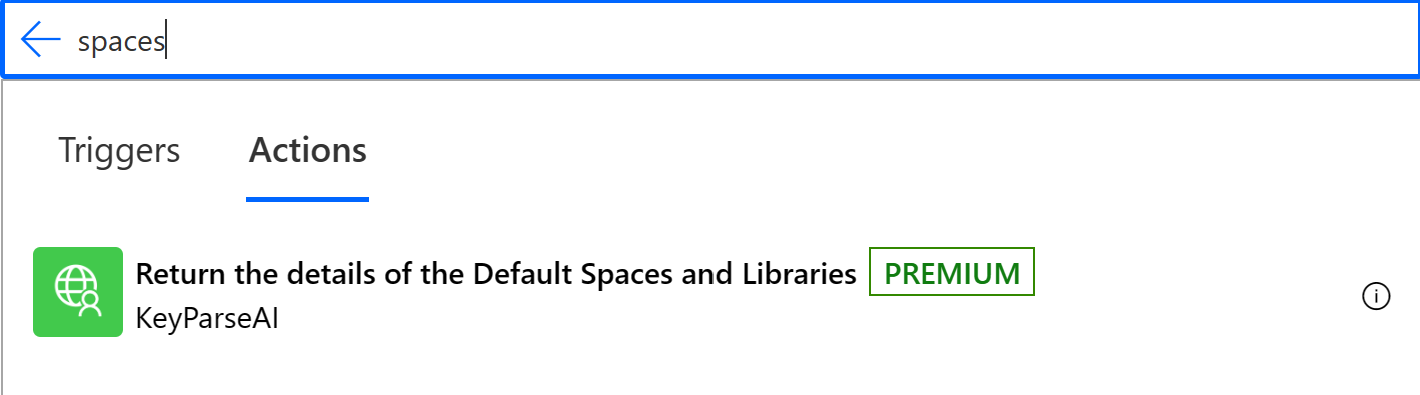
Click the action listed: Return the details of the Default Spaces and Libraries
It will be added to the Flow
The first time an action from the connector is added to the Flow canvas it will prompt for the name and authentication information.
Connector Credentials
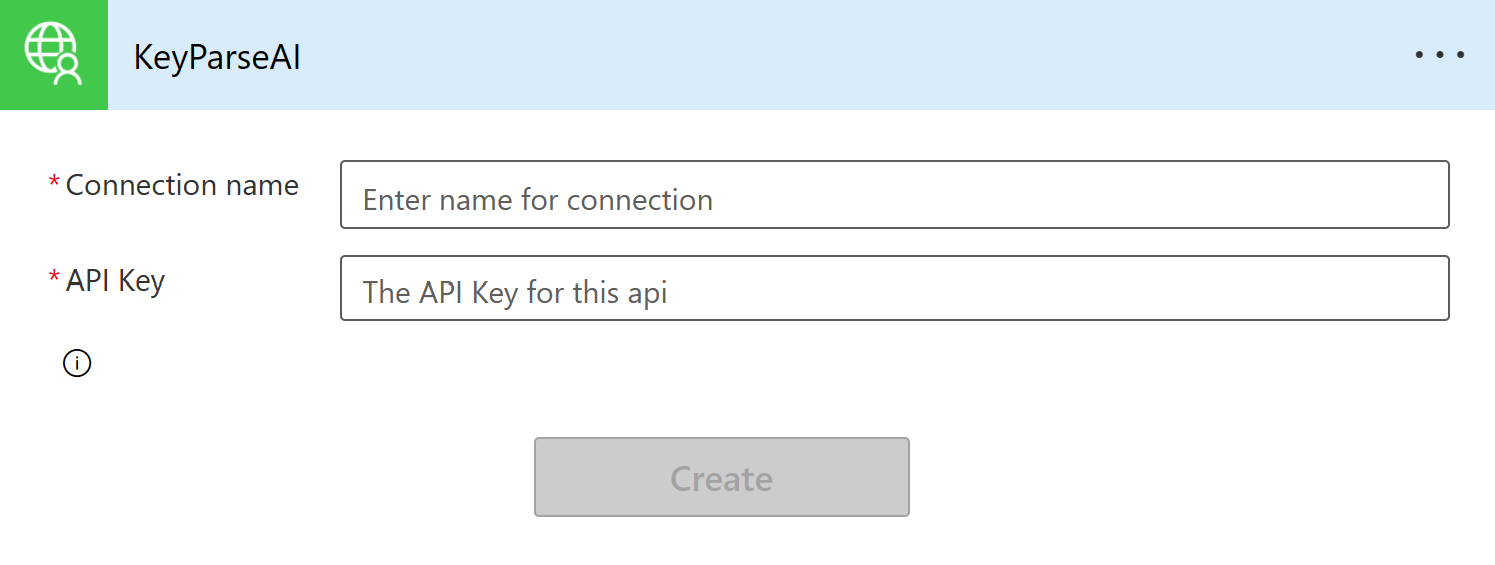
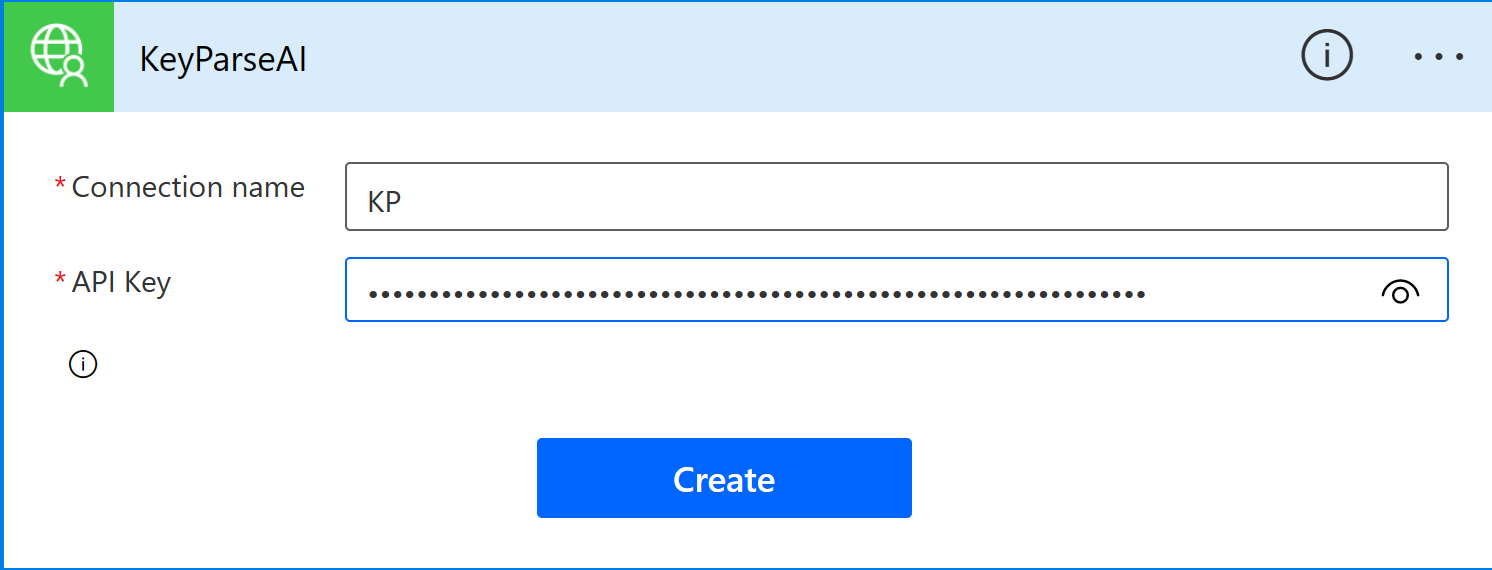
Enter the Connector name and an API key generated from within the KeyParse AI application. see APIKeys
Click Create
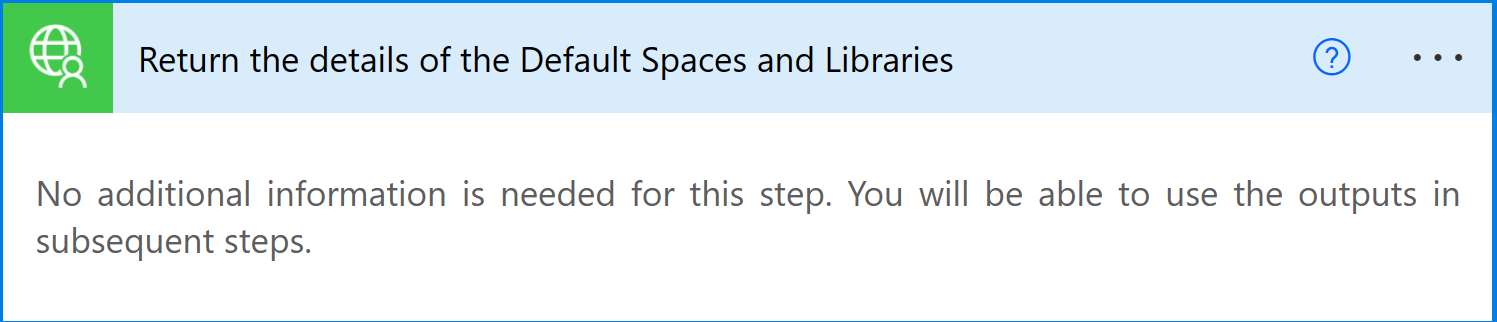
Once created the action has no UI but will return data into the Flow in JSON format that can be used in subsequent steps
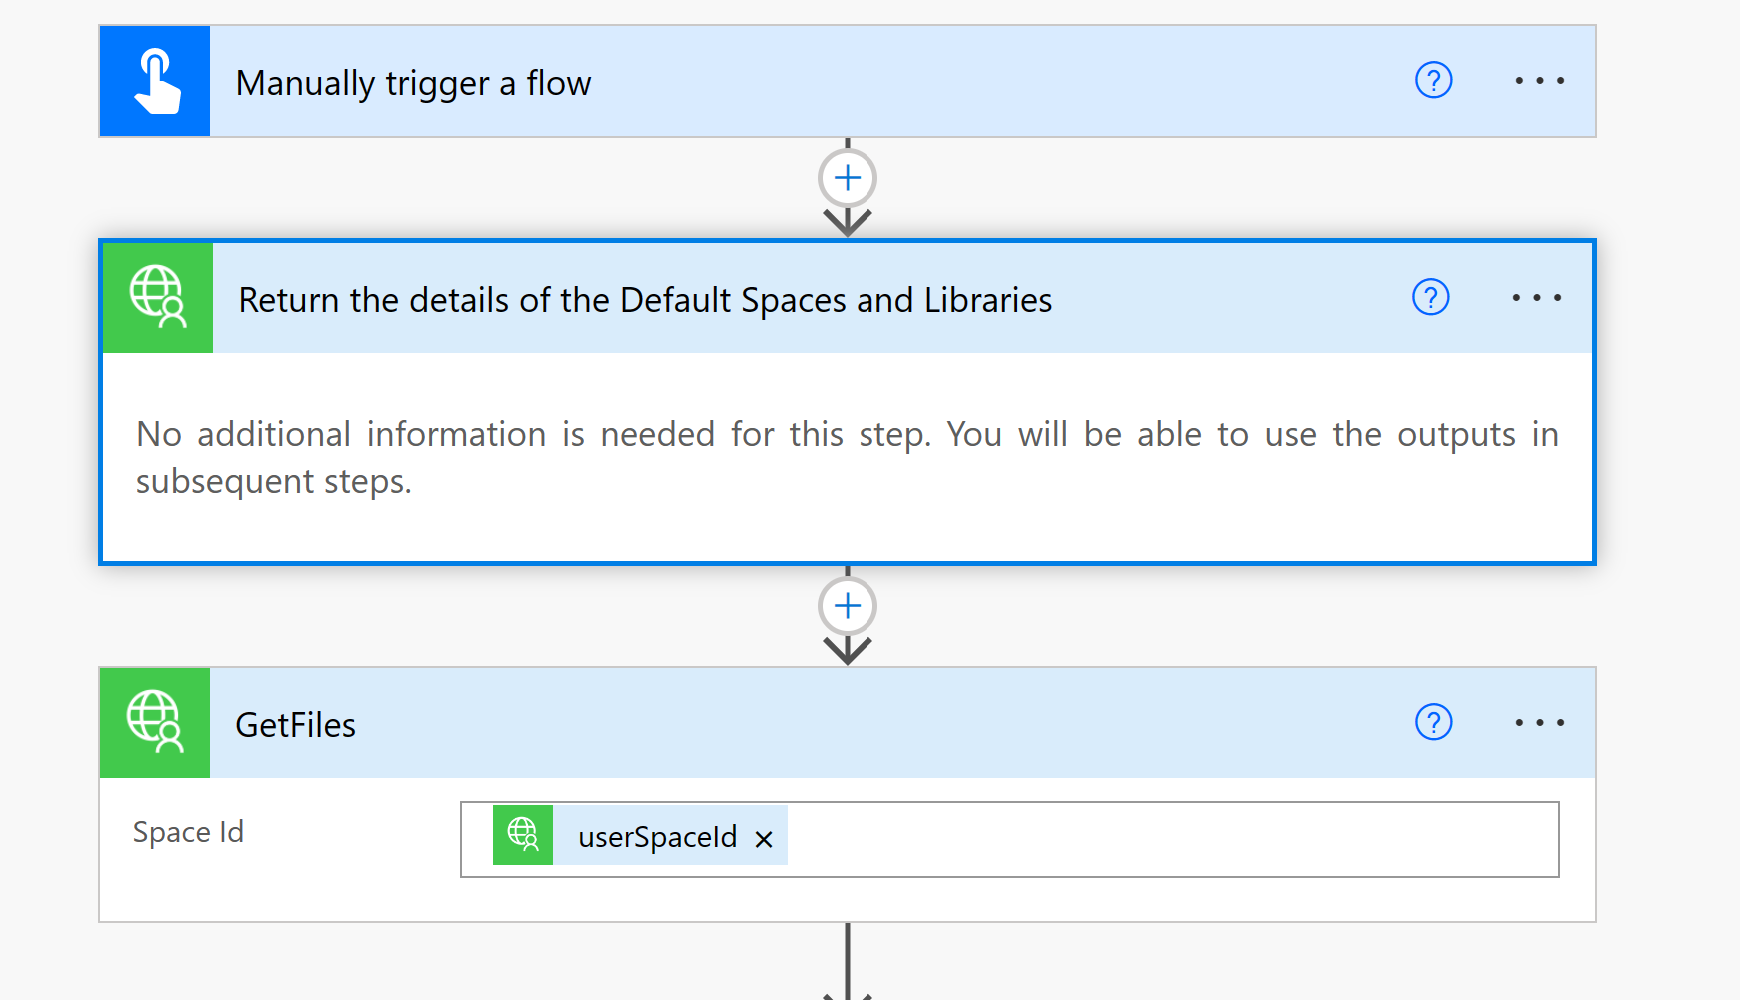
For this test we we add a second action that will return the list of files
Click New Step on the Flow Canvas, click Custom and then the connector you had created.
Enter space as the filter and click the action method Return all files from the default User library in the given Space

Once the action has been added click into the Space Id field and the UI will display all the data available from the previous step
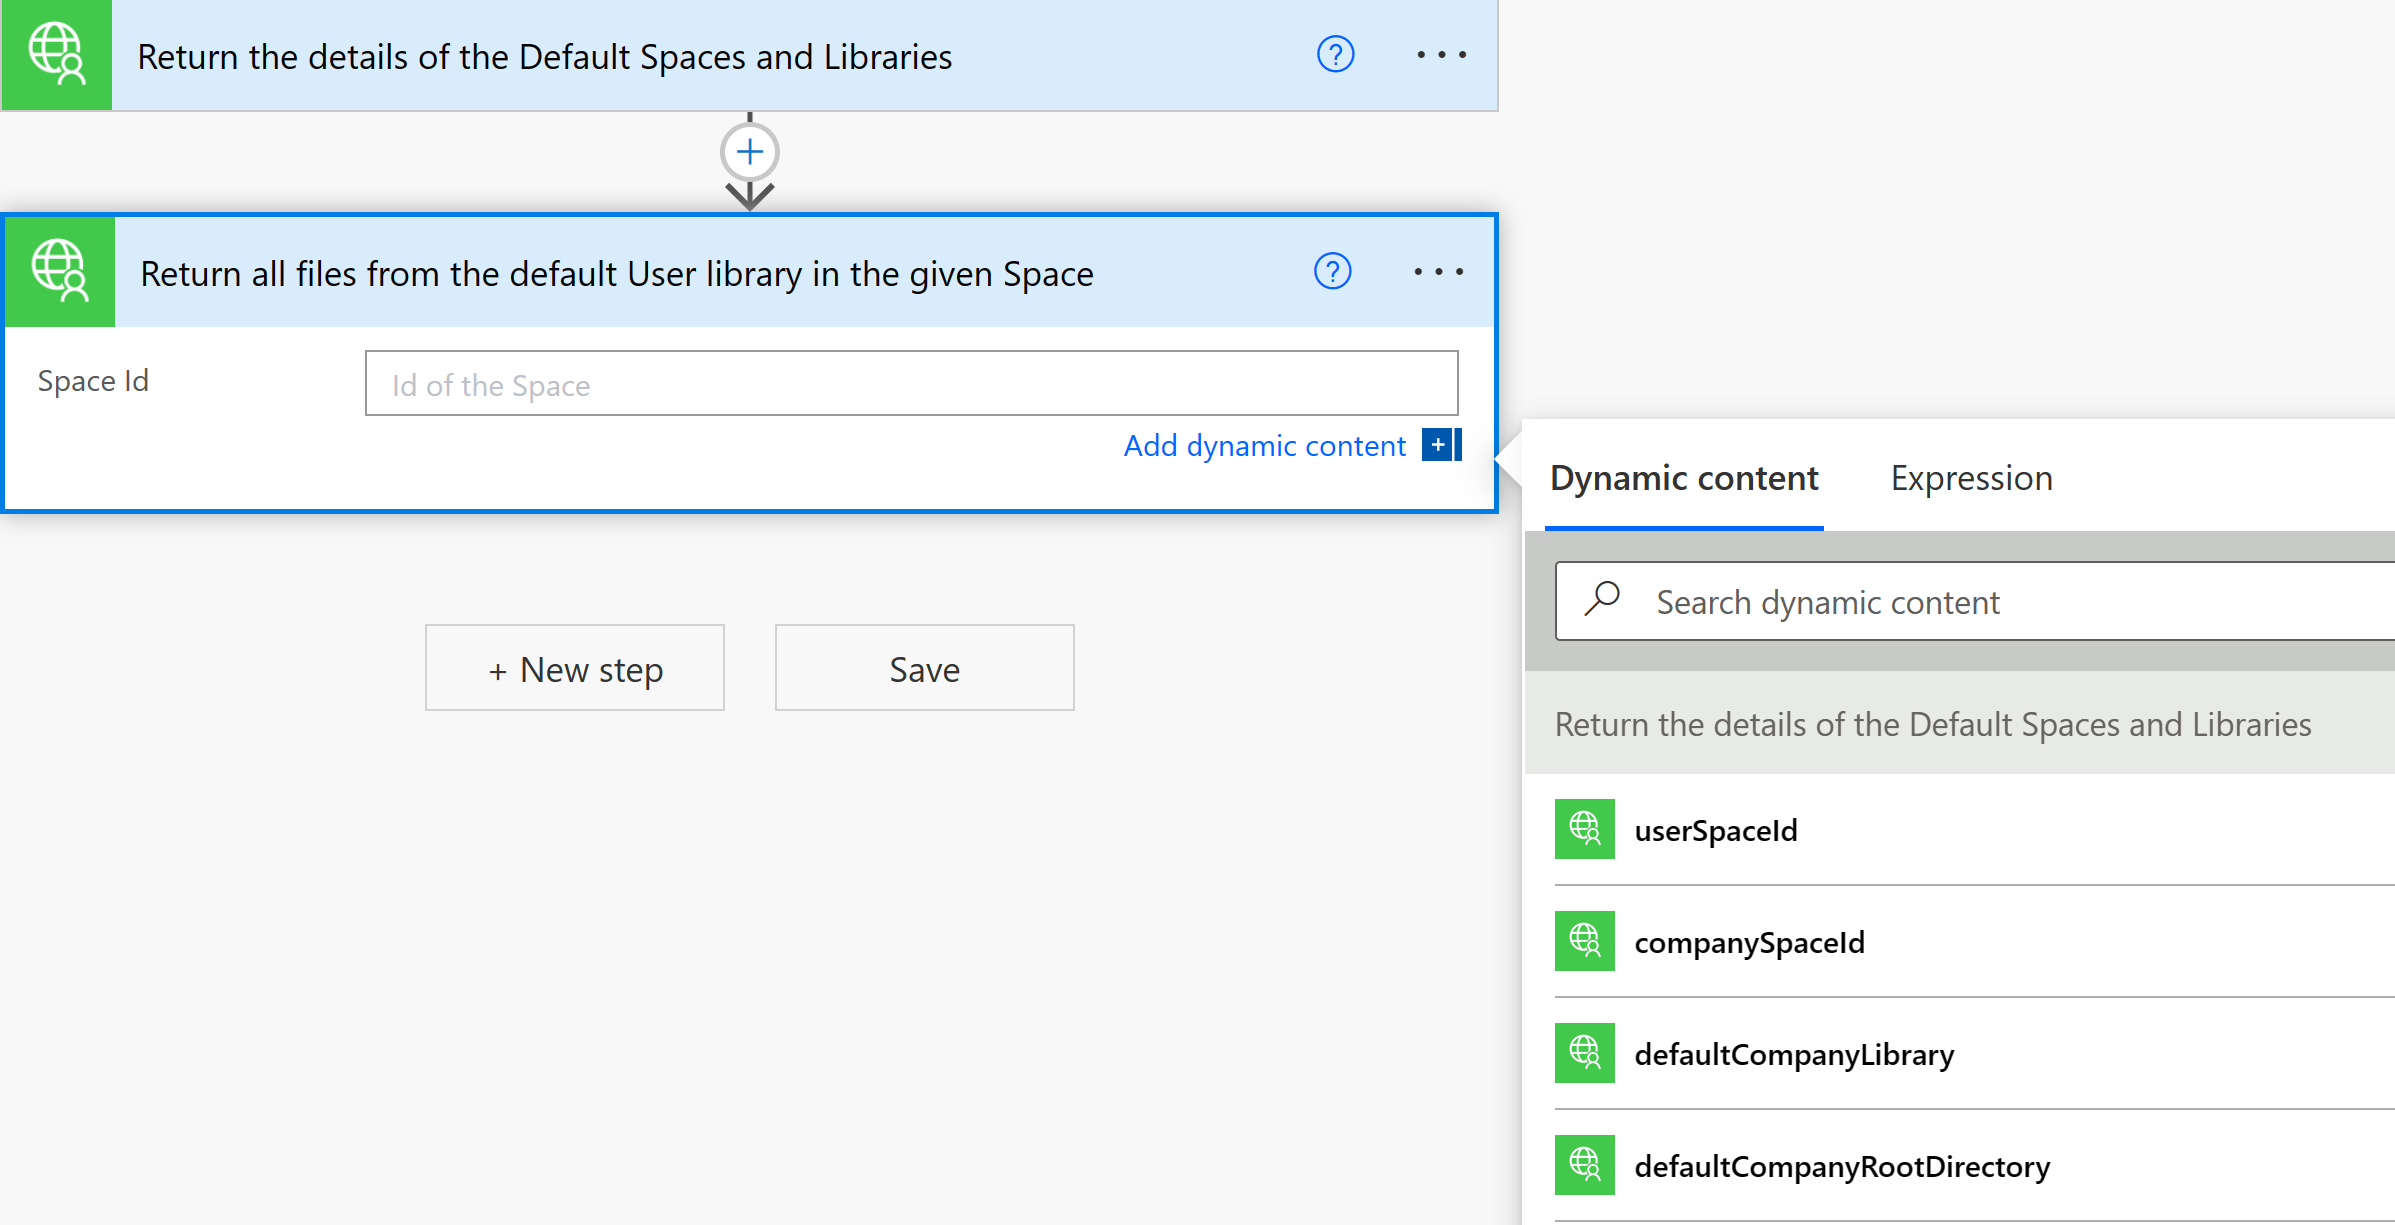
Select userSpaceId and click Save on the Flow.
Testing the Flow
Your flow is now ready to test.
On the top right click Test and select Manually as the test method
The click Test
The UI should should that the connector has credentials entered and is ready to call by displaying a Green checkbox
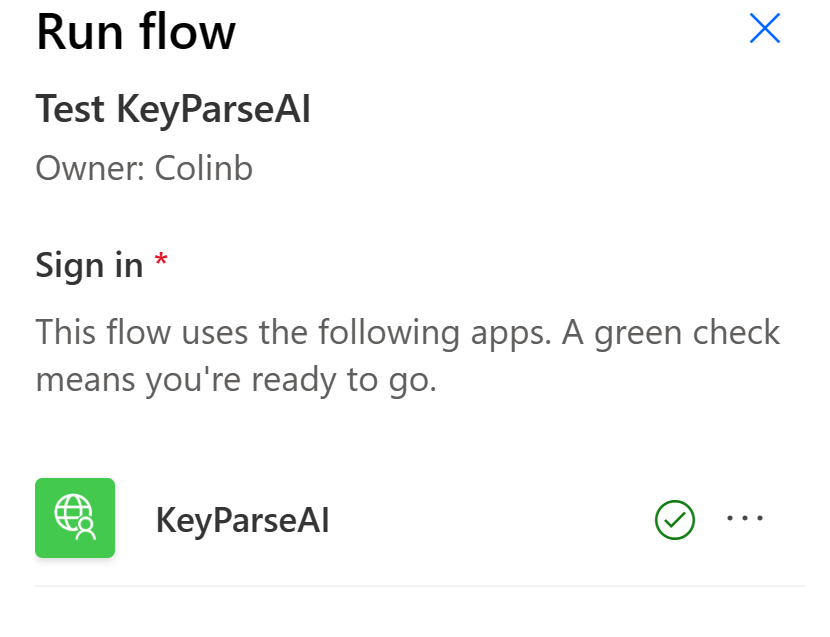
Click Continue and then Run Flow
The flow should be running so click Done
This will open up the Flow Results page.
Click the Return all Files action and you should see the results of the data returned in the text box.
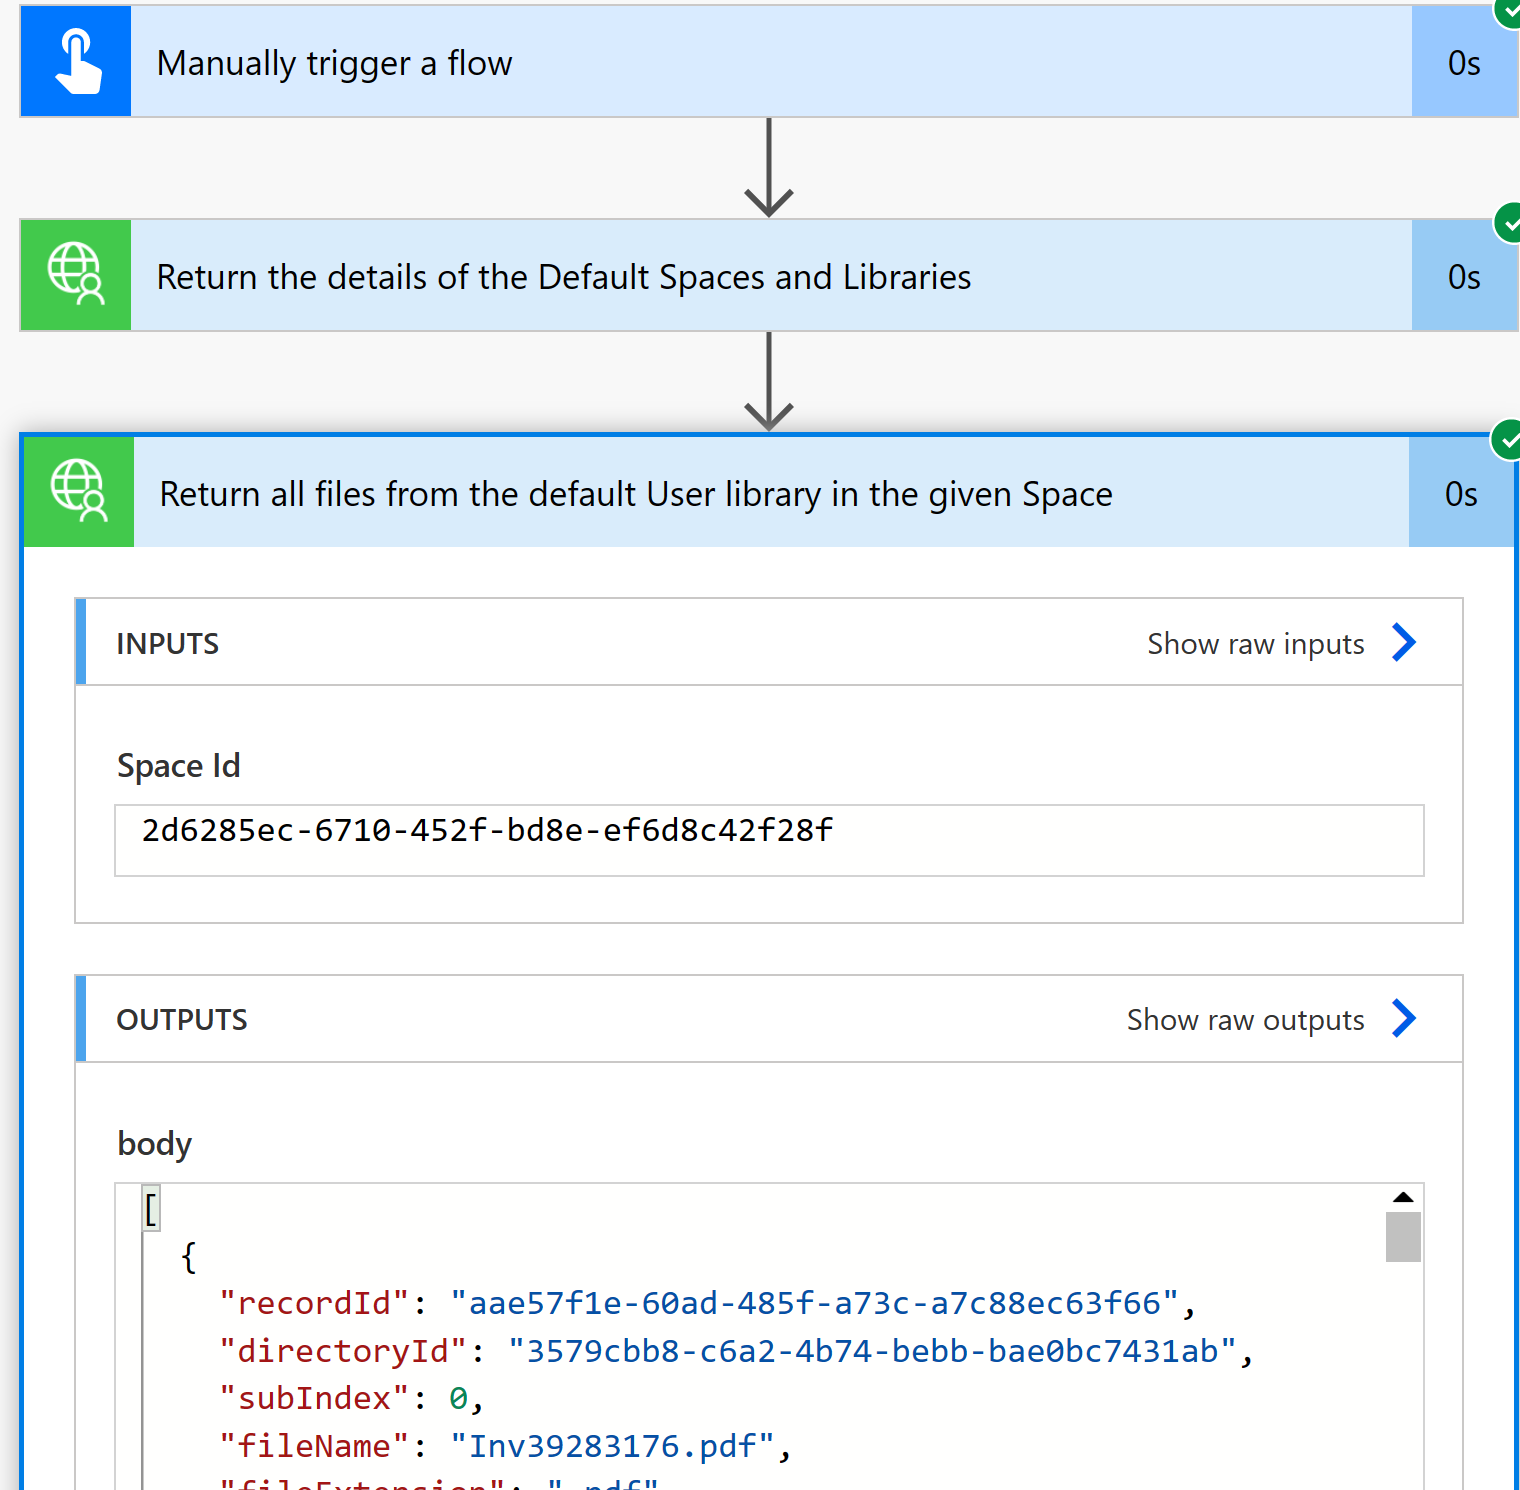
The recordId_ID field can be used in subsequent calls to extract the data using a template. See the Extract Data tutorial for more information Power Automate Extraction